Caucasian Curry

Caucasian Curry
Tuesday, May 29, 2012

Blackberry Vanilla Basil Jam


a perfect example of a bright idea that i thought was soooo unique and original...
but alas...i found that it's been done and it's been done a lot.  so much so that it's even on the Food Network by Giada De Laurentis.
well i thought it was original and worthy of making...so i changed things up a bit and made it my own.  quite different than recipes i came across.

i must admit, the name sounds a lot more exotic than the actual flavor.  don't get me wrong...this IS a fabulous Blackberry Jam.  most recipes called for 2-3 full cups of basil.  i opted to lower the basil amount quite a bit because 2 full cups of basil brought visions to my mind of enjoying a lovely breakfast with a friend laughing and smiling...with a big chunk of green basil stuck to my tooth...besides i just wanted a hint of basil, not "in your face" basil.

to make this blackberry basil concoction a little more interesting i added zesty lemon slivers from 1 whole lemon, 1 Tbsp of vanilla extract AND my secret ingredient of 1 large roasted clove of garlic.  i was told by one of my taste testers that the jam had many layers of flavor...unlike any blackberry jam they had had.   GOOD that's what i wanted...something delicious,  a little different with layers of unexplainable sweet, yet slightly savory spreadable goodness.

BLACKBERRY VANILLA BASIL JAM

2 1/2 lbs fresh blackberries, washed and dried as much as possible
(weigh berries before washing)
3 3/4 cups granulated white sugar
juice from 1 lemon
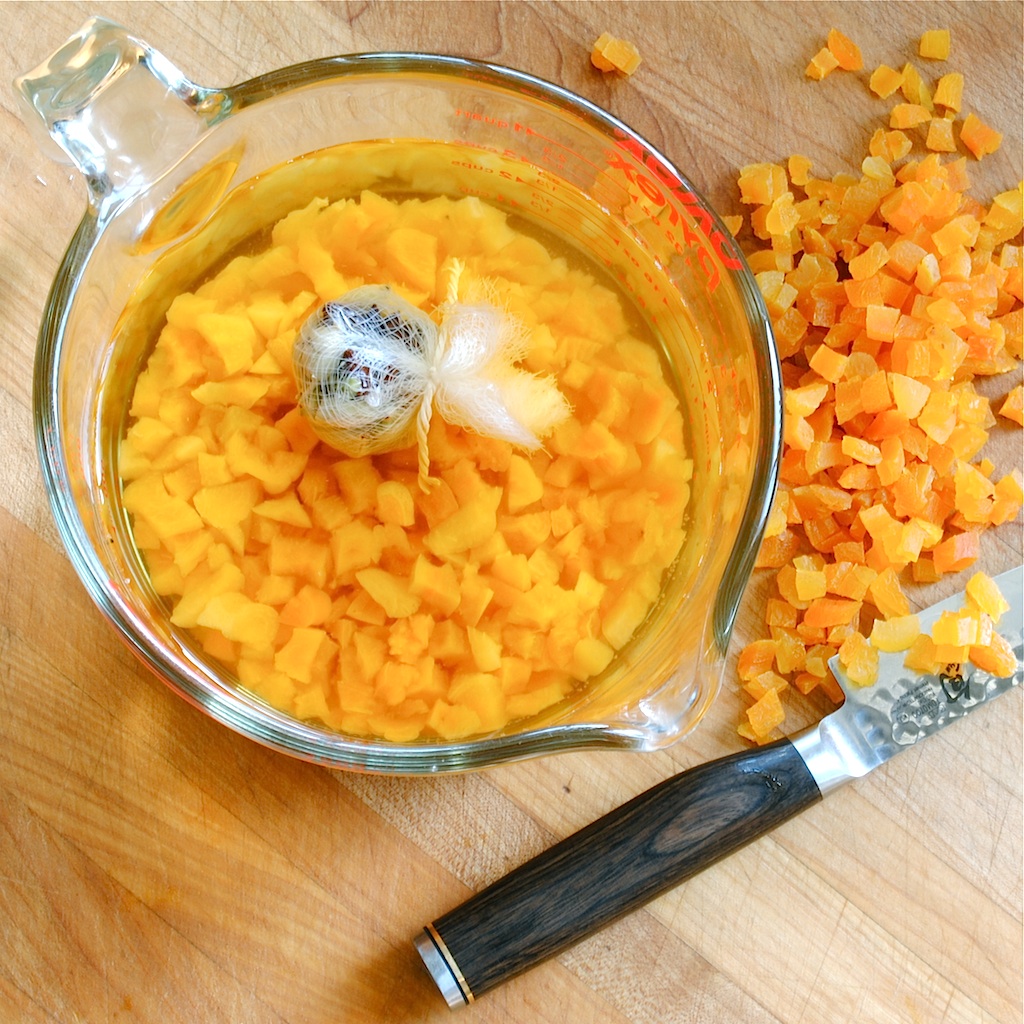
zest from lemon.  peel with a potato peeler and cut zest into very thin slivers
1 large clove of roasted garlic
1/4 cup finely minced fresh basil
1 Tbsp dried basil in a tied cheesecloth pouch
1 Tbsp vanilla extract

start your huge pot for the water bath if you are canning.   get everything ready that you might need because when your jam comes to the right temp you don't want to be fumbling around looking for tongs or trying to sterilize your lids in a hurry.
i like to clean my jars and finish sterilizing in a 220 degree oven for 20 minutes...then turn oven off and let jars sit in warm oven until ready to fill.
put a few small plates in the freezer for your plate test...jam 101

add all ingredients into a large stock pot...i use one with tall sides because of the splatter once it gets to a syrupy boil.
bring to a boil over medium high heat while stirring to combine...it will quickly change from sugary thick lumpy to nice macerated raspberry moosh.
cook, stirring and skimming foam from surface...i skimmed towards the end.  take your cheese cloth basil sachet out before the mixture gets to thick.  cook until temperature reaches 220 F degrees on a candy thermometer.  lower heat to lowest and do a plate test.  if mixture sets on plate to your liking then you are ready to fill sterilized jars.  if not...bring back to medium heat and do another plate test.
process in a water bath for safe pantry storage up to a year.
OR...seal tightly and let come to room temperature before refrigerating for use with in a month or two.
NOTE...i am not the food safety police, i am new to canning AND most of my jams have been given or consumed quickly, however, i DO have a few jars set aside for the pantry.  i have inserted some links for sterilizing and water bath caning, but google around and get more info if you need it.  ALSO.....check out this website for some good tips on food safety


You have read this article breakfast / jam with the title May 2012. You can bookmark this page URL http://caucasiancurry.blogspot.com/2012/05/blackberry-vanilla-basil-jam.html. Thanks!
Tuesday, May 22, 2012

Double Ginger Chewy Chocolate Chip Molasses Cookies


GINGER ?... MOLASSES ?....summertime?
YES...why not?  there are no holiday flavor police
i love ginger and i love molasses...i love both fabulous flavors all year 'round.
why does molasses only come around during the Christmas holidays?....
it seems everyone forgets how to use it  'til the "holiday spice fest" rolls around.  these delicious flavors pop at specific times of the year, then get stashed in the back of the pantry and we quickly move on.  
what's wrong with...say...
pumpkin pie in the summer...
lemon tart in the dead of winter...
or fruity popsicles when it's pouring rain...?!

i know there are a zillion molasses/ginger cookie recipes out there and you've probably tasted each one during the winter holiday months, but i didn't see too many with chocolate
 i'm on a chocolate kick right now and i always love the zing of ginger so i thought the two would be a good combo with the deep molasses...and that, it is.  something a little different for the normal summer cookie line up.  move over lemon bars and macaroons.

i'll be quick about it and get to the recipe.
NOTE...i made mine a little smaller than usual so i could stretch the recipe, but when you make them large they really are good and chewy in the middle with that slight crunch on the sugar coated edges.
i made 4 1/2 dozen from this batch, but 3 dozen would make a nice large cookie.


CHEWY MOLASSES with CHOCOLATE CHIPS and CRYSTALLIZED GINGER
my apologies to the person i got the base recipe from.  i ALWAYS like to give props to the original.  it's hand written in my file drawer and i don't have any info at all to pass on.  it might have evn been good ol' Betty Crocker.
i changed it up a little by lowering the sugar content with a little splenda,  substituted with 1/2 white whole wheat flour, added some crystalized ginger bits AND added chocolate chips.

INGREDIENTS
1 1/2 cups white sugar...i substituted with 1/2 cup splenda (no one knew)
1 cup unsalted butter, room temp.
1 CUP MOLASSES!
2 eggs, room temperature
4 cups AP flour...i substituted with 2 cups white whole wheat
1 Tbsp baking soda
1 tsp cinnamon
1/2 tsp ground cloves
1/2 tsp ground nutmeg
1/2 tsp ground ginger
1.5 - 2 oz of crystallized ginger, diced or baking pieces
1/2 cup (or more) semi sweet chocolate chips...more would have been better


HOW TO...
preheat to 350 F degrees.
using a paddle attachment on your mixer, cream the butter and sugar until light and fluffy.
add molasses and eggs...mix thoroughly.
in a separate bowl mix all the dry ingredients with a whisk.
add dry to wet 1/3 at a time.  mix until well combined...dough should be soft and smooth
chill at least 30 minutes.
form dough into balls 1' - 1 1/2" in diameter.
roll balls in sugar...i used raw Tubinado sugar for a good extra crunch
bake on parchment (allow room for spreading) at 350 degrees till edges are firm...approximately 13 minutes depending on the size of your cookies

You have read this article chocolate / cookie / ginger / sweet with the title May 2012. You can bookmark this page URL http://caucasiancurry.blogspot.com/2012/05/double-ginger-chewy-chocolate-chip.html. Thanks!
Sunday, May 13, 2012

Apricot Ginger Vanilla Chai Jam


if you think you can...you can.
i knew i could...NOW I CAN.
my very first CANNED JAM !
so excited to finally be a "canner".
if you haven't done it yet, this is a great way to get your feet wet...
dried fruit.
guaranteed flavor if apricots aren't in season where you are.
it's inexpensive for a small batch such as this....and if it doesn't turn out right, it's not such a sinful waste of beautiful fruit.  i lucked out as a first timer, and this turned out fabulous.
the flavors are sweet, fresh and bright from the apricot, ginger and lemon, but slightly warmed by the vanilla and chai.
all jammed together it reminds me a little of a sunny Christmas morning...
but guess what???
i'll be able to give it away at Christmas because i am a successful canner !
they'll be good in the pantry for a whole year.  although...i was so proud of my jam i already gave 5 jars away.  by the way...i used small 4 oz jars and got 6 with a little extra for immediate consumption.
i love the dried apricot idea and will be doing it again.


Dried Apricot Ginger Vanilla Chai Jam
makes about 3 8oz jars

8 oz. dried apricots, small diced
2 3/4 cups filtered water
1 Chai tea packet
2 star anise and 6 - 8 cardamom pods(smashed open) tied into a cheesecloth pouch
2 Tbsp grated fresh ginger...a cheese grater is better than microplane...or finely minced
1 large Tbsp lemon zest...(see note)
2 Tbsp lemon juice
2 1/2 cups granulated sugar
2 Tbsp vanilla extract
2 - 3 small plates in the freezer for "plate test"

heat the filtered water and steep the chai tea.  while it's steeping dice apricots fairly small (they expand).  put apricots and cardamom/anise pouch in bowl with tea water and let sit over night.  in the morning they will be fragrant and plump.
pour the soaked apricots, cardamom pouch and tea liquid into a large non-reactive pot.  add 2 Tbsp lemon juice, fresh ginger and lemon zest.  bring to a boil, cover pot and simmer for 30 minutes.
NOTE...i removed the cardamom pouch after 15 minutes because i could smell that it was fragrant enough...you don't want to over power the other flavors.
when the apricots are tender, remove the cardamom pouch, raise the heat and slowly add the sugar and 2 Tbsp vanilla extract.  bring to a boil and cook over high heat until the liquid is reduced and the jam seems quite thick.  when temperature reaches 220F (for sea level jam makers) degrees do the plate test.

if your jam passes the test you can now funnel the jam into sterilized jars and proceed with canning.  please follow instructions to the "T" when canning (they should come with the jars)...
OR close lid tight, let sit to room temperature and refrigerate to consume with in a month or two.  check here for proper food safety
NOTE FOR LEMON ZEST...use a potato peeler to remove strips of the lemon zest, then using a sharp knife cut the strips of peel in very fine slivers.  i find this gives a nice pop of lemon flavor in each bite rather than thrown into the over all mix.

You have read this article breakfast / jam with the title May 2012. You can bookmark this page URL http://caucasiancurry.blogspot.com/2012/05/apricot-ginger-vanilla-chai-jam.html. Thanks!
Monday, May 7, 2012

Jamaican Coconut Drops


these chunky little glistening globs are deeeelicious!

three ingredients...fresh coconut, fresh ginger and brown sugar.

they are definitely a labor of love...BUT they are totally worth the effort.

each ingredient shines on it's own, but together they make a fresh almost healthy tropical treat.  
 i have yet to go to Jamaica, but i discovered these are a very traditional treat and found just about everywhere...maybe as common as our chocolate chip cookie...? 


they sound easy enough to make, with only three ingredients...but it's  those three ingredients that are a bit of a bear...the cubed coconut meat, diced fresh ginger and cooked down brown sugar.  still, i say well worth it.

here are some tips i have found very helpful...

#1...THE COCONUT...getting to the meat of the matter
buy the brown dried coconut and shake it to make sure it still has it's coconut water.  poke holes in the eyes of the nut (the three indentations at one end).  drain water and reserve for a cool refreshing drink.  now, whack the coconut on the ground to get a nice crack in it,  place on a sheet pan in a 400 F degree oven for about 10 - 15 minutes.  remove and let cool to the touch.  whack it again on the ground or with a hammer to break open and into large pieces.  the meat should now be easily removed from the shell.  gently pry out the meat with a butter knife or i use the end of a screw driver.  the meat will still have a brown outer layer...use a potato peeler to remove this and you will have beautiful white coconut meat ready for dicing.

#2  THE GINGER...to peel...simply use the edge of a spoon to scrape off the outer skin.  it's much easier than a paring knife and less wasteful.

#3  THE BROWN SUGAR...can't help ya there.  reducing the brown sugar mixture just takes time,  near continuous stirring and a watchful eye.


JAMAICAN COCONUT DROPS

1 lb. coconut meat diced...from 1 1/2 0r 2 brown coconuts
i used almost 4 cups
4.5 ounces (125g) fresh ginger diced...about 1 cup
2 cups packed golden brown brown sugar
3 cups water

spray a large cookie sheet with non stick spray (or i used parchment).  combine all ingredients in a large heavy bottom sauce pan. stir ingredients over medium heat until sugar dissolves and mixture comes to a boil.  attach a candy thermometer to the pan or just stick it in to check where your at. boil until the mixture starts to thicken and the temperature reaches 295 F degrees.  use a large spoon to continuously stir so as not to burn on the bottom or the sides of the pot...stir more towards the thickening stage.  one of the recipes said 15 minutes, but mine took more like 40 minutes.  
NOTE...it is hard to get a proper read on the thermometer when it is almost done.  look for the sugar to caramelize, sugar begins to form at the bottom of the pot and it becomes very hard to stir.
lower the heat to the lowest flame or setting...working quickly, drop about 2 tablespoons of mixture for each coconut drop onto prepared baking sheet.  let sit until cool and firm.  
these are best eaten within a few days.  i noticed the sugar becomes more crystallized the longer they sit, but still yummy.

You have read this article coconut / cookie / sweet / sweets 'n treats with the title May 2012. You can bookmark this page URL http://caucasiancurry.blogspot.com/2012/05/jamaican-coconut-drops.html. Thanks!
Friday, May 4, 2012

Queso de Puerco...Pig's Head Cheese


QUESO de PUERCO...or...QUESOS de CABEZA
sounds a lot better than the translation...HEAD CHEESE

but wait...don't go...come back...
all this talk about nose to tail eating, waste not want not, being green and everything...you can't tell me you're gonna shy away from a little head cheese.
come on...be the adventurous foodie that you think you are...it's delicious!


i know the picture is a little alarming...
but you DO have to get over the shock factor that it IS all ingredients from a pig's head.  part by part it can be a little daunting...maybe disturbing for first timers, but nowhere near as disturbing as  tackling the whole head.
authentic Queso de Puerco is made from the WHOLE pig's head boiled and broken down...
I COULDN'T DO IT.  i'm not there yet...baby steps...besides it's a well known fact that a whole pig's head would not be allowed into this house.  i've snuck ears, tails and trotters in before, but i think the head with a face...eyes and teeth might just sign my walking papers.
SO...i had a better idea...
i simply bought all the parts.  a few ears, a couple of snouts, some trotters and a Pozole meat mixture (grab bag) which includes tongue, cheek, ears, lips, and various other bits of fatty meats that work well for this thing called head cheese.  i'll bet you didn't know that delicious authentic Pozole you love so much from your favorite Mexican restaurant actually had all those parts in it.  well, consider yourself christened.  
now come on...try the Queso de Puerco

this is nothing like the head cheese you're afraid of.  if you consider yourself an adventurous foodie this is a fabulous challenge to take "head on".
when presenting it to unsuspecting guests and those less adventurous, slip a few slices onto your next meat/charcuterie platter...call it a fancy "terrine"  or "Pate de Tete" if you have to..., but this one really is good ol' head cheese with some spicy Mexican flavors
...it will surely be the conversation at the table.


the left overs...i'm sure there will be some...make a delicious sandwich...or sear a slice or two in a hot skillet.  it renders into crispy little unctuous fatty bits that are delicious on top of a cold crisp salad.


QUESO de PUERCO...or HEAD CHEESE with Mexican flavors

things like this always change in flavors, size and shape...it depends on what parts of the pig you can get your hands on...AND are you willing to handle the said parts?... 
this is what i started with....

2-3 full pig ears
2 full trotters, sliced in half by the butcher
2 lbs. (or a little less) of Pozole mix...various pieces of pig including tongue, cheek, ear, snout, butt.
2 pig snouts...i found cooked, roasted snouts at the hot food area in my favorite Mexican market..Northgate, Santa Ana, CA
1 1/2 tsp cumin
1 big Tbsp dried oregano
1 tsp chipotle powder
1/2 tsp cayenne, optional
8-10 peppercorns
 1 large onion, quartered
3-4 bay leaves
6 smashed garlic cloves
2 Tbsp apple cider vinegar
salt and fresh ground pepper

before you begin to cook, you need to take care of a couple things...
#1  you must look for any stray hairs that have made it past the first cut, so to speak.  check the ears, snout and trotters.  i find the easiest way is to burn them off with a lighter or even better, and more fun, use a kitchen torch...yes the one you use for creme brulee.
#2  i like to boil a big pot of water, big enough to hold everything and put all the meat in and boil the parts for about 5 minutes.  then remove, discard the water and clean the pot before using for the actual cooking.  this will take care of any lurking exterior impurities.

now...i could go on and on and get really involved with instructions, but really it "boils" down to this...

EVERYBODY IN THE POOL
all meats, veggies, herbs and spices into a pot big enough to hold it all.  cover with water,  water should just cover meats throughout the cooking process.
bring it to a boil, then to a nice simmer.  cook until all is fork tender.  approximately 3-4 hours.

again...trying to keep it simple...
remove meat and let cool to the touch.  remove bones, large fat and any unwanted parts...NO don't toss it all...that was a joke!
strain broth through cheesecloth.  taste broth.  it should taste quite over seasoned, so add more salt and spice if necessary.
pack meats into a large loaf pan lined with Saran wrap.  i like it well packed.  pour warm broth over and weigh some sort of lid down on top so as to press everything together packed tightly.  you will be pressing out most of the liquid so do this in the sink.  the more packed it is...the less gelatinous your block of head cheese will be.
refrigerate for a few hours.  it's ready when it is solid.

slice and enjoy with pride.
now you are a true nose to tail-er
or...snout to trotter...er


PS...if you truly want to attempt this and need more instruction, i would be more than happy to answer any questions.
here are a few other terrines i have posted about that pretty much use the same method.
once you have made one terrine you can make anything into a terrine.
You have read this article appetizer / charcuterie / meats / mexican / odd bits / offal / out of the ordinary / pork / savory with the title May 2012. You can bookmark this page URL http://caucasiancurry.blogspot.com/2012/05/queso-de-puercopig-head-cheese.html. Thanks!